Browse Plan Categories

Meet Upsie

Return navigate_next
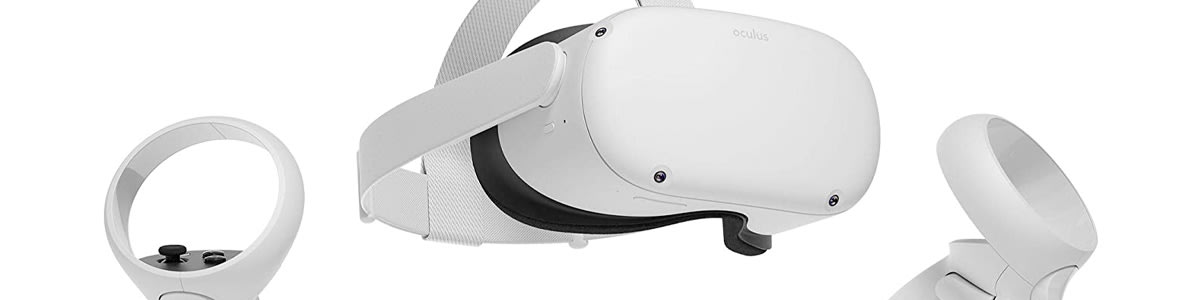
How to Play Steam Games on Meta (Oculus) Quest
June 2, 2022 *
For VR fans, Meta (Oculus) Quest and Steam are a match made in heaven. Meta Quest delivers a cutting-edge, immersive VR experience, and Steam is a massive gaming platform that currently offers over 6,300 VR games. But if you’re not quite sure how to use this operating system and platform together, here’s everything you need to know.
Make Sure Your Computer Meets Meta Quest’s Minimum Requirements
A precursor to gameplay is ensuring your computer has enough firepower to handle the demand. “You will need an Intel i5-4590 or AMD Ryzen 5 1500X or greater, 8GB RAM, Windows 10 or higher, and a compatible graphics cards — generally, a Nvidia GeForce GTX 1070, GTX 1080, or a GTX 1650 Super or Better,” explains technology journalist Dave Johnson. “On the AMD side, you need to have an AMD 400 Series graphics card or better.”
As long as your computer meets these minimum requirements, you should be good to go.

Install the Virtual Desktop App and Steam App
If you haven’t done so already, make sure you’ve installed the Meta Quest Virtual Desktop app and Steam desktop app. You’ll need both of these for VR gameplay.
Playing Steam Games on Meta Consoles with a Cable
There are two options for connecting your Meta (Oculus) VR headset and Steam, with the first being by cable. This will require a USB-C cable with enough length to reach from your computer to your Quest headset. One of the most popular options is the Meta Link Cable. It’s 16-feet long and is designed for high-performance VR gameplay.
To get set up with a cable, simply turn on your headset and connect it to your computer’s USB port. Then launch the Virtual Desktop app and follow the setup instructions for connecting the headset to your computer. Once that’s done, select Link (Cable).
At that point, launch the Steam desktop app and Steam VR. Now you can choose from the huge library of VR games and begin gameplay.
Playing Steam Games on Your Meta Quest with Air Link
Being tethered by a cable is, understandably, not ideal for all VR gamers. After all, being cable-free is a big part of the appeal of VR in the first place. If you fall into this category, know that cable-free play is possible with Meta Air Link, which provides a wireless way to play.
The main drawback of this option, however, is that it’s prone to glitchiness and lagging at times, which can be frustrating. And if you go this route, you’ll want a strong Wi-Fi signal. Usually, a Wi-Fi 5 network will be sufficient. But for the optimal gaming experience, a Wi-Fi 6 router is ideal. With that said, here’s how to set up Meta Air Link.
First, launch the Meta software and select “Settings.” Choose the “Beta” tab at the top of Settings. Then select the “Air Link” toggle and turn it on.
Now put on your Quest headset and select the Meta button on the right control to get to the home menu. Then select “Meta Air Link.” Now you should be ready to access Steam VR games.

Getting an Extended Meta (Oculus) Quest Warranty
The current generation VR gaming systems are expensive: the Quest 2 starts at $399.99 and the Quest Pro starts at $1,499.99! Meta's manufacturer’s warranty provides defect and malfunction coverage and lasts for one year. However, you’re on your own once that period ends, so it’s important to have extended warranty coverage.
Given the wide array of issues that can go wrong, from dead pixels to controller drops, many users can benefit from extended coverage from Upsie. Upsie offers protection from issues like drops that damage screens and hardware, liquid spills, and even speaker and memory failures. In addition, with Upsie’s accidental damage protection, gamers can get the most out of their console without worrying about damage from falls and cracks.
Coverage costs up to 70% less than in-store warranties, and claims can be conveniently made 24/7 for quick replacement or repair. You can learn more about how Upsie works here.
Learn More About Video Games:


* This article is over 6 months old and may or may not be updated.