Browse Plan Categories

Meet Upsie

Return navigate_next
How the Exposure Triangle Works in Photography
October 14, 2021 *
Professional photographers rely on the principles of what’s known as the exposure triangle every day. With that, understanding exposure is what very often takes an amateur photographer’s work to the next level. At its core, photography depends on accurately capturing light. It’s a process that can, at first, be tricky to wrap your head around.
However, by delving into the all-important exposure triangle, it’s possible to break the process down into individual components. As the name suggests, just three factors come into play: ISO, aperture, and shutter speed. Each controls how a camera and its lens combine to capture an image. It’s a process that, by and large, relies on physics.
We’ll look at how ISO, aperture, and shutter speed work together in photography.
The Exposure Triangle
The exposure triangle consists of aperture, shutter speed, and ISO, in that order. All work together to regulate the necessary light required to take a photograph whether it’s digitally or on film. The first piece you must understand is aperture.
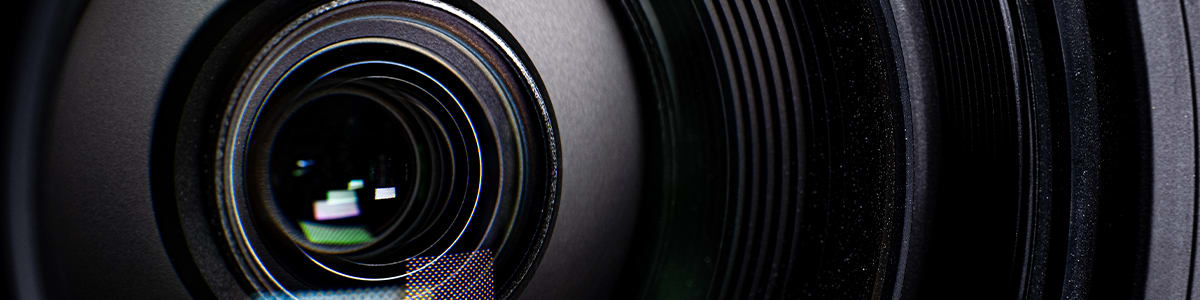
Aperture
Accurately capturing light, which is the basis of any photograph, first rests on the aperture of a camera’s lens. Opening and closing accordingly, different aperture settings govern how much light enters the lens. A series of mathematical calculations determine how aperture and lens length combine to give a particular result.
Thankfully, this means that achieving the desired outcome is often as easy as dialing in a number. Somewhat conversely, though, smaller numbers represent wider aperture settings. For example an f/1.8 lets in more light than an f/5.6. Numbering aperture values in this way allows for a wide range of adjustments that best coincide with corresponding ISO and shutter speed settings.
Aperture doesn’t just control how much light is allowed into a camera’s lens, either. It also affects sharpness by simultaneously helping to establish the depth of field of an image. Further impacted by how close a photographer is to their subject, finding a balance is crucial in capturing the perfect shot.
It’s something that almost always starts with the correct aperture setting. Yet, this can, at the same time, be for nothing if shutter speed isn’t accounted for.
Shutter Speed
While aperture forms the basis of exposure by regulating levels of light, the process behind capturing the perfect photograph is heavily reliant on shutter speed. Getting to grips with shutter speed is arguably more straightforward than trying to understand the math behind aperture.
Again, it’s all about controlling light measured simply in terms of time. Shutter speeds typically vary from tiny fractions of a second to up to half a minute or so.
The longer that a camera’s shutter is open, the more light that enters. Like with aperture, this directly impacts the overall exposure of a photograph. Coupled together, the two principles can be fine-tuned to create a balance that should, hopefully, produce a pin-sharp, perfectly exposed image. In addition, a slow shutter speed can produce a blurry image. You should have a shutter speed of at least 1/200 if you are shooting handheld, and at least 1/500 if you’re going after action shots.
Furthermore, a slower shutter speed can also be dialed in alongside an appropriate aperture setting to capture a photograph under abnormally low-light conditions.
ISO
Finally, ISO. In photography, ISO is the final determining factor in establishing how much light makes it to the very end of the picture-taking process. Aperture and shutter speed are essentially reliant on physical adjustments. ISO, meanwhile, is a separate measure of sensitivity.
Traditionally, ISO was determined by the film that photographers used in their cameras. Today, the same standards continue to exist for those who still prefer film, of course. However, ISO standards now also apply to the sensors in modern digital cameras.
In the simplest sense, the lower a roll of film or the sensor in a digital camera’s specified ISO value is, the less sensitive it is to light. Increase the ISO, and light sensitivity increases in parallel. With higher sensitivity, the graininess of an image rises as a result of exposure to more light.
By selecting a less sensitive ISO, like 100 or 200, much of this graininess—or noise—can be eliminated. Later, the images can be tailored to an individual photographer’s preferences. Traditional film photographers have long relied on the noise stemming from high ISO values, like 800 or higher, to add texture and feel.
Yet, when shooting digitally, the opposite is usually more desirable – achieved by opting for a lower ISO.
Camera and Lens Warranty
Almost every camera and lens setup relies on the exposure triangle. From the earliest to the most cutting-edge models, exposure is key. Correctly managing that, as we’ve learned, requires ISO, aperture, and shutter speed to be factored in. Whichever camera setup you prefer, be sure to protect it with an extended warranty.
Upsie is a leading provider of both camera warranty and lens warranty packages. Video camera warranty packages are also available as part of Upsie’s comprehensive range of camera and lens warranty solutions.
Protection includes safeguards against cracked screens or lenses, manufacturer defects, mechanical failures, zoom issues, and more. Priced at up to 70 percent less than comparable policies sold elsewhere, Upsie cuts out the middleman and passes savings to consumers.
A further benefit includes protection against damage in the event of drops, liquid spills, and other accidents, all with an industry-leading low deductible of just $25. Find out more exclusively at Upsie.com.
Learn More About Photography and Cameras:


* This article is over 6 months old and may or may not be updated.