Browse Plan Categories

Meet Upsie

Return navigate_next
How and When to Install the All-New Windows 11
October 18, 2021 *
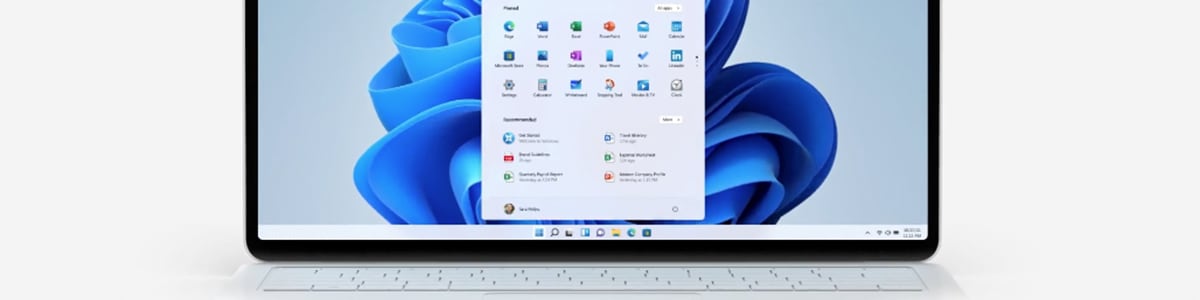
It’s been six years since Microsoft unleashed Windows 10 on the world. The company is back with a new version, Windows 11, which reimagines what Windows looks like and adds new features and capabilities.
Not every existing PC running Windows 10 can make the jump to Windows 11, and Microsoft is taking a phased rollout approach that should reduce issues but may increase confusion. Here’s how to find out if your PC can run the new OS, plus how to download and install Windows 11.
Step 1: Verify Your PC Can Run Windows 11
The first step is making sure your PC is compatible with Windows 11. The easiest way to do so is by using Microsoft’s own PC Health Check app. If the app says that your PC can handle Windows 11, skip to the next step now.
If your PC fails the health check, there may still be a way to upgrade — but it gets a little technical. Here’s what’s going on behind the scenes.

The new Windows 11 won’t demand a whole lot more from your PC in terms of processing power, but it does have certain security upgrades built-in. Unfortunately, not every PC has the features necessary to accommodate these settings.
Specifically, Windows 11 requires both Secure Boot and TPM (Trusted Platform Module) 2.0. Older machines may not have hardware that supports these features. Microsoft didn’t start requiring TPM 2.0 support in Windows 10 hardware until 2016, so PCs older than that point may simply not have the necessary internals.
If that’s your situation, the only way to get Windows 11 is to upgrade to a new PC. (And if you do, now is the perfect time to add a quality extended PC warranty.)
Some PCs have the necessary equipment, but either Secure Boot or TPM aren’t turned on. In these cases, some tweaks to the BIOS settings may allow you to install Windows 11. Of course, these are advanced steps, and you should back up your system before trying them. But if you’re comfortable going down this road, CNET has a solid explanation of how.
Step 2: Wait for an Automatic Prompt
If your PC passes the Health Check app, you will get an automatic prompt to upgrade from Windows 10 to Windows 11. Waiting for this prompt is the safest and easiest way to upgrade, as Microsoft’s installer will guide you through the entire process.
That said, Microsoft is taking a phased rollout approach to account for the sheer breadth of devices out there running Windows 10. As a result, the newest devices get automatic support first, and Microsoft doesn’t expect to finish the entire automated rollout until mid-2022.
Thankfully, if you don’t want to wait until sometime next year, you can take matters into your own hands.

Check Windows Update if You Don’t See a Prompt
One more thing before moving to the alternate approach: Update prompts in Windows 10 aren’t always terribly consistent, so you might need to go look for the update yourself. Open Settings, then Update & Security, then Windows Update. On that screen, click or tap Check for Updates. If you don’t see anything about Windows 11, move on to the next step.
Alternate Step 2: Download Windows 11 Manually
If your computer passes the health check but hasn’t yet gotten an automatic push update, you can take matters into your own hands.
First, visit the Windows 11 site. You’ll see an option for downloading the Windows 11 Installation Assistant. Next, download and install that application. From there, everything should happen pretty much automatically. The Installation Assistant should begin downloading files and installing Windows 11.
Be aware that this can take quite some time. Even newer, faster machines could need an hour or more to complete the installation. If your internet download speeds are lower, expect a higher total time.
Also, be aware that there is some level of risk here. If Microsoft hasn’t officially pushed the update, there may be certain issues or incompatibilities with your model. Be sure to back up your device before upgrading.
If the Installation Assistant Fails
If the Windows 11 Installation Assistant fails, there’s still one more thing you can try, but this one requires some know-how. You should probably wait for the update to roll out on Microsoft’s timeline.
But if you’re confident in your abilities to get out of a jam if something goes wrong, you can also try installing Windows 11 from installation media or a .ISO file. Microsoft gives technical instructions on this method here.
Upgrading Your PC to Install Windows 11? Upgrade Your Extended Warranty
If your old PC doesn’t make the cut and can’t install Windows 11, it’s probably about time to upgrade. When you do, be sure to protect your investment with an extended warranty. Extended warranties protect electronics from damage, internal malfunctions, manufacturing defects, and more. In addition, having an extended warranty means you won’t end up stuck with costly repairs if something goes wrong.
An extended PC warranty from Upsie is the perfect complement to your new Windows 11-capable laptop. Upsie warranties protect your device from defects, issues, and even accidental damage. Also, Upsie’s warranties are up to 70 percent less expensive than warranties from competitors.
Ready to protect your new device? Get an Upsie plan now.
Learn More About Laptops:


* This article is over 6 months old and may or may not be updated.