Browse Plan Categories

Meet Upsie

Return navigate_next
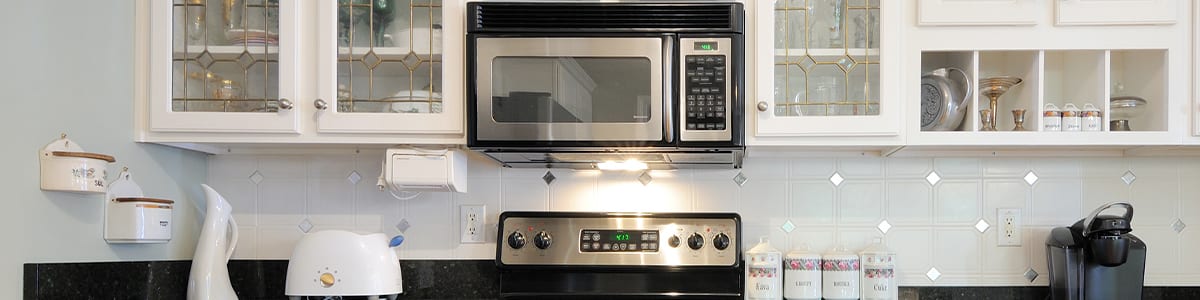
How to Clean a Microwave: Inside and Outside
September 29, 2021 *
No matter how diligent you are about cleaning your appliances — whether at home or the office — the microwave oven is one of those spots that is constantly a mess. You’ve probably gone to your microwave, having recently wiped out spaghetti sauce splatter from every interior inch of it, and you still found some sauce on the outside too. That’s how things work with microwave ovens, it seems.
Even worse, it’s sometimes challenging to get your microwave oven as clean as you’d like. It’s important to keep your microwave in good condition to ensure that you don’t clog any ventilation and that you can see if any problems might require repair.
Steps to Clean a Microwave Oven: Inside and Outside, Stains and All
Whether you’re a neat freak or just like to keep a basic semblance of clean order in your kitchen, you might find yourself looking for microwave cleaning strategies that work effectively and quickly.
But, of course, you don’t want to spend too much time on this task. The great news is you can clean your microwave in a few simple steps and feel much better about it. At least until you return, and it is once again mysteriously messy.
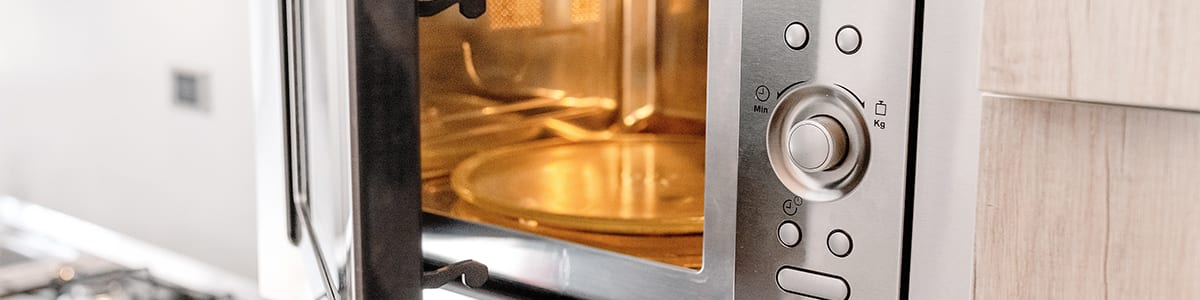
Step 1: Clean the Inside
It’s often best to start in the messiest zone, which is the inside of the microwave. Try to clean your microwave interior at least once a week. Then, depending on how dirty it becomes and how crazy it drives you, you can get in there more frequently. Good Housekeeping recommends using a classic cleaning solution recipe of vinegar, lemons, and baking soda to eliminate messes, stains, and odors.
Here is the best approach for achieving maximum cleanliness inside your microwave:
- Mix 1 cup of water and lime, lemon, or orange slices, and white or apple cider vinegar in a microwave-safe bowl.
- Heat the mixture inside the microwave oven on high for several minutes until the water starts to bubble and steam forms on the window.
- Leave the mixture inside to cool for about five minutes before returning and cleaning the whole interior with a clean sponge. For tough food residue and stains, dip your sponge or an old toothbrush or scrubbing brush in some dishwashing detergent, and scrub a little harder. Then go over everything with a clean sponge to wipe away debris and soap residue.
Step 2: Clean the Door
The door is another hot spot for dirt, grease, and grime, so go on the attack to get it clean so that you can see inside with ease. First, wipe the door down with a sponge dampened in a bit of water and baking soda.
If the window is greasy, use a 50/50 water and vinegar mixture to cut the grease. For resistant grease, use a stronger cleaning solution or add some dishwashing detergent to the mix. Finish it off by wiping both sides with a window cleaner and paper towel.
Step 3: Remove Stubborn Odors
Whether you burned some popcorn or made broccoli, brussel sprouts, or shrimp, you might notice a lingering odor that your original interior cleaning approach didn’t solve. So you’ll need to take things up a notch and try some vinegar variations.
Add some baking soda to your 50/50 vinegar and water mix first. Next, take your sponge and soak it in the solution, then place it in the center of the microwave and heat it for 20-30 seconds. Once the timer stops, scrub the inside of your microwave with the same sponge, then rinse the inside with soap and water before wiping it down with a clean and dry dishcloth or paper towel.
If that strategy fails, pour a half-cup of distilled white vinegar in a cup, and leave it in the microwave overnight. In the morning, wipe it out with a damp sponge and baking soda.
 However, if both of these methods fall short, leaving you with a smelly microwave, you can also try the following natural cleaners:
- Cloves
- Vanilla extract
- Charcoal
- Rubbing alcohol
- Lemons, oranges, or limes
- Coffee
- Berries
Keep Your Microwave in Great Condition
As a frequently used appliance, it’s no wonder that your microwave collects stains and odors. However, without regular care, the grime inside of a microwave could shorten its lifespan, leaving you with a hefty repair bill. To avoid buying a new microwave or paying for repair bills upfront, purchase an extended warranty for your microwave.
Upsie offers extended warranties for small appliances. In addition, you can buy an Upsie warranty for your microwave within 60 days of purchasing your microwave. Upsie protects your microwave from mechanical failure, power issues, heating failure, and more.
With an Upsie extended warranty, you can rely on appliance repair technicians to keep your microwave oven running like a charm, even if it has some crumbs and stains from daily use.
Learn More About Small Appliances:


* This article is over 6 months old and may or may not be updated.