Browse Plan Categories

Meet Upsie

Return navigate_next
Five Tips for Using and Maintaining a Bread Maker
August 11, 2021 *
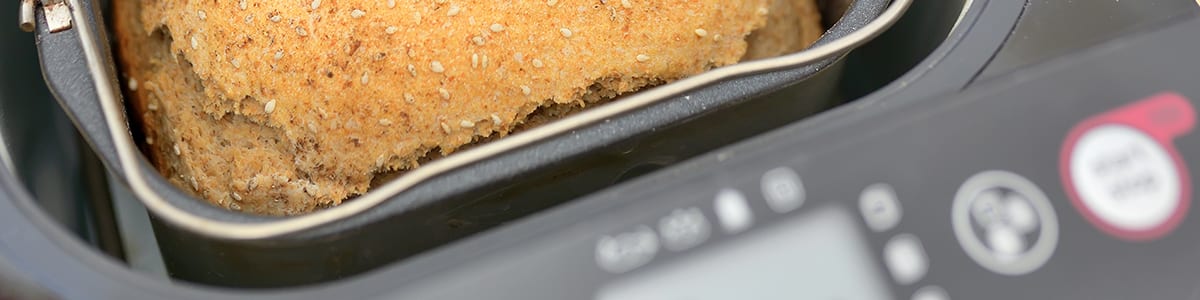
Few things are tastier than freshly baked bread. For a long time, baking a fresh loaf every morning simply wasn’t an option for most people. Today, however, things have changed. The vast range of bread makers now available for sale has made the process as easy as possible for just about anyone.
Baking bread no longer takes hours. Gone are the days of endless kneading and the necessary clean-up process that inevitably followed. With a bread maker, it’s as simple as combining a few ingredients and pushing some buttons.
Whether you own such a device or are considering purchasing one, here’s a handful of helpful hints for making the most out of your trusty bread maker.
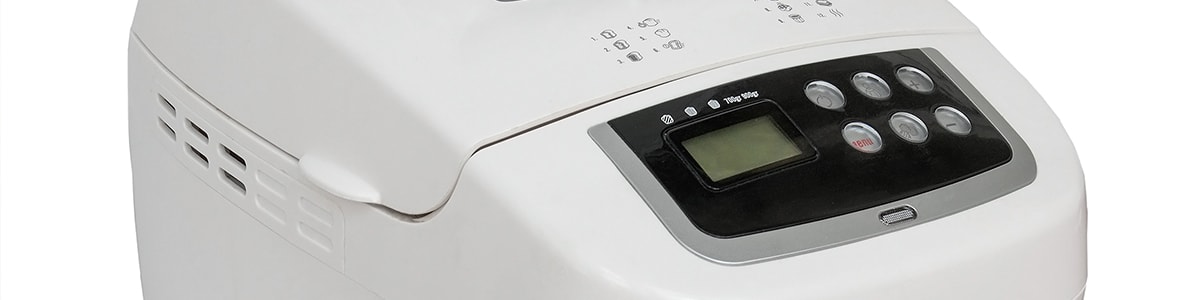
#1. Familiarize Yourself With the Basics
After buying a new bread maker, it’s tempting to dive straight in, feet first. However, to get the best from your machine from the outset, reading all of the instructions is crucial. One simple oversight can lead to disaster and put new owners off immediately.

For example, correct measurements are extremely important — too much or too little of even a single ingredient can lead to poor results. Similarly, the order that components are added is crucial for many machines. Mix this up, and things may not turn out as anticipated.
For the most part, the process is straightforward. The same is true of almost any bread maker currently on the market. Follow the instructions, and you’ll be enjoying fresh bread in no time. Just remember to take your time in the beginning.
The same goes for existing bread maker owners, too. Periodically re-familiarizing yourself with how everything works is always helpful. It’s an especially good idea if you’ve not used your machine for a while.
#2. Always Stay On Top of Bread Maker Maintenance
Making bread the traditional way is invariably a messy process. Flour everywhere, endless bowls, utensils, and more to wash afterward. With a bread maker, things are infinitely easier.
That said, there’s still a necessary cleaning and drying process to tackle after each use. Don’t be tempted to overlook this aspect of using your bread maker. Keeping everything clean and in its place ensures continued good working order for years to come.
Regular ongoing maintenance is crucial as well. Keeping a bread maker’s spindle shaft oiled is a great example. Most bread makers will come with instructions surrounding how to undertake basic tasks designed to prolong the life of any machine. Follow these as outlined and adhere to any advice as closely as possible, particularly regarding the frequency of maintenance and other checks.
#3. Safeguard Your Machine With a Bread Maker Warranty
Like any must-have small kitchen appliance, a quality bread maker should last for many years, even with daily or near-daily use. Regular maintenance is one of the best ways to ensure that this remains the case. Still, if something does go awry, it’s helpful to have a degree of support on hand.
An extended warranty or service contract is an ideal way to put such safeguards in place. In addition to protecting a bread maker against manufacturing defects, the most comprehensive policies will also cover a variety of mechanical faults and other eventualities.
Upsie, for example, provides small appliance warranty protection against failures to motors, gears, ball bearings, and other internal moving parts. Further covered are heating or cooling problems, power failures, power shorts, and internal cord issues. Expert local repairs are also included, all with no service charges and no deductibles. Parts and labor are covered in full, too.
For two-year coverage for Oster’s popular $139.99 ExpressBake 2lb Bread Maker Upsie’s warranties cost just $14.99.
#4. Be Brave and Experiment With New Ideas
Many bread makers are far more versatile than people often believe. Of course, a plain white or wholemeal loaf is terrific. Much more is possible, though. Various websites with a focus on bread maker recipes have ideas for everything from sweet potato rolls to soft pretzels.
Did you know, many bread makers can also be used to make cakes, meatloaf, rice dishes, sauces, soups, preserves, and yogurt? Some can even whip up a batch of delicious scrambled eggs!
Furthermore, don’t be disheartened if something doesn’t turn out as expected. Even seasoned bread maker owners and users occasionally encounter mishaps. Simply try again, and there’s every chance that things will turn out perfectly a second time around.
#5. Don’t Underestimate the Importance of Your Yeast
Sometimes people struggle with bread makers despite their best efforts. Every instruction is followed, but still, things don’t quite work out. This is commonly down to the yeast that they’re using. Easy to overlook, not all yeast is the same.
A good example is the difference between instant yeast and active dry yeast. While there’s little to tell the two apart once out of their packaging, they’re very different ingredients. Usually, less instant yeast is needed, so recipes must be adjusted accordingly. On the other hand, active dry yeast isn’t typically suited to one-hour or express cycles in any bread machine.
If active dry yeast is to be used for an express loaf, it may be necessary to double or even triple the amount that’s normally recommended to get the desired results. It’s also vital that any yeast is as fresh as possible.
Regardless of the type of yeast, if it isn’t fresh, bread maker results are unlikely to be as expected. Thankfully, it’s possible to quickly test a small sample of any yeast for freshness. Helpful directions on how to carry out a yeast freshness test are available from the likes of The Spruce Eats, Jessica in the Kitchen, and Taste of Home.
Learn More About Small Appliances:


* This article is over 6 months old and may or may not be updated.