Browse Plan Categories

Meet Upsie
Return navigate_next
How to Connect a Vizio Soundbar to Your TV
June 19, 2022 *
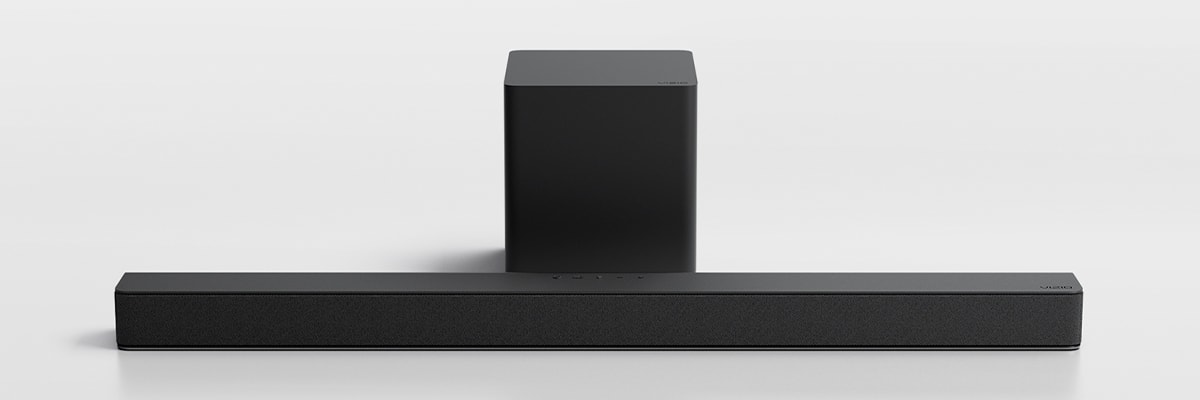
Vizio is known for delivering high-quality audio products at a reasonable price. And their soundbars are no exception. Coming in a few different models, Vizio soundbars offer multi-dimensional sound that makes the entertainment experience really come to life.
The best part is that setup is pretty straightforward. Here’s how to connect a Vizio soundbar to your TV using four different methods.
How to Connect a Vizio Soundbar to Your TV with an HDMI Cable
This is the way most audio experts recommend because it’s easy and delivers superb audio. To connect with HDMI cables, you’ll need to:
- Plug your Vizio soundbar into a power outlet.
- Insert one end of the HDMI cable into one of the “HDMI In” ports on your TV.
- Insert the other end into the “HDMI Out” port on your Vizio soundbar.
- Turn on both the Vizio soundbar and your TV’s power.
- Choose “HDMI” as your input option.
At that point, everything should be properly connected and ready to go.

How to Connect a Vizio Soundbar to Your TV with a Fiber Optic Cable
This involves the same basic process as connecting to your TV setup with an HDMI cable. Note that a fiber optic cable can also be referred to as S/PDIF or Toslink cables.
- Plug your Vizio soundbar into a power outlet.
- Insert one end of the fiber optic cable into the “Optical” port of your TV (there will often be a plastic flap to keep dust out that you’ll need to lift to open the optical port).
- Insert the other end of the fiber optic cable into the “Optical” port of your soundbar.
- Turn on both the Vizio soundbar and your TV’s power.
- Choose “Optical” as your input option (or SPDIF or Toslink if you’re using those cables instead).
How to Connect a Vizio Soundbar to Your TV with RCA Cables
This is the “old school” way to do it and simply involves using yellow, white, and red RCA cables. The sound quality probably won’t be quite as good, but it should still get the job done.
- Plug your Vizio soundbar into a power outlet.
- Insert one end of the RCA cables into the “Audio Out” ports of your TV (connect the corresponding colors).
- Insert the other end of the RCA cables into the “Audio In” or “Aux” port of your soundbar.
- Turn on both the Vizio soundbar and your TV’s power.
- Choose “Aux” as your input option.
How to Connect a Vizio Soundbar to Your TV with Bluetooth
The fourth and final option is to connect with Bluetooth. Unfortunately, not all TVs have Bluetooth options, so it won’t work if that’s the case. If, however, your TV does support Bluetooth, you’ll want to follow these steps.
- Plug your Vizio soundbar into a power outlet.
- Turn both the Vizio soundbar and your TV’s power on.
- Hold the Bluetooth button on your Vizio soundbar until it blinks.
- The Vizio soundbar should then appear on your TV’s menu.
- Choose the Bluetooth audio option on your TV’s menu.
The exact process may vary slightly depending on your TV, but it should follow the same general steps.
Do You Need an Extended Soundbar Warranty?
Vizio soundbars vary in pricing. The absolute cheapest model starts at $50, while more robust models can cost several hundred dollars. For that reason, you should get an extended soundbar warranty to protect the soundbar from damage.
Upsie offers comprehensive warranty coverage that costs up to 70% less than what you would pay in-store. It provides complete transparency before you buy so you can ensure you make the right choice. You also have full control of your plans through Upsie.com if you need to make changes.
In addition, you can make unlimited claims up to the purchase price of the soundbar, ensuring that your soundbar is protected from mechanical damage, speaker or sound failure, Wifi issues, and other problems.
And if you need to make a claim, you can do so 24/7 while speaking to a friendly claims rep for a quick repair or replacement. Upsie also offers warranties for TVs, tablets, smartphones, laptops, and more. Find out more about how Upsie works here.
Learn More About TVs and Soundbars:


* This article is over 6 months old and may or may not be updated.