Browse Plan Categories

Meet Upsie

Return navigate_next
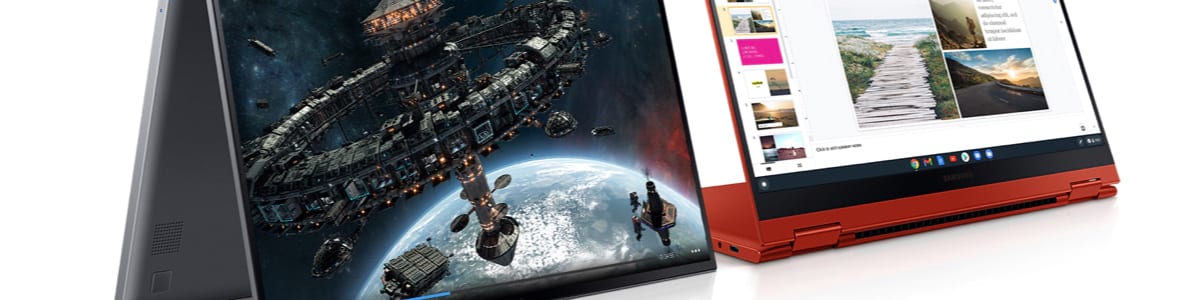
Simple Guidance for Using Your New Chromebook
May 18, 2021 *
Chromebooks are great. However, they’re different from PCs and Macs in various regards. The unique Chromebook keyboard, for example, means that certain shortcuts seem impossible to achieve. Thankfully, that’s not the case. Instead, it’s just a matter of learning a few new techniques.
Overall, the basics aren’t too far removed from Windows and Apple computers. The main difference is the more tablet-like interface. Those familiar with iPads and other similar devices may even find the experience easier and more intuitive.
With that in mind, and without further ado, here’s a five-minute guide to getting the most out of your new Chromebook.
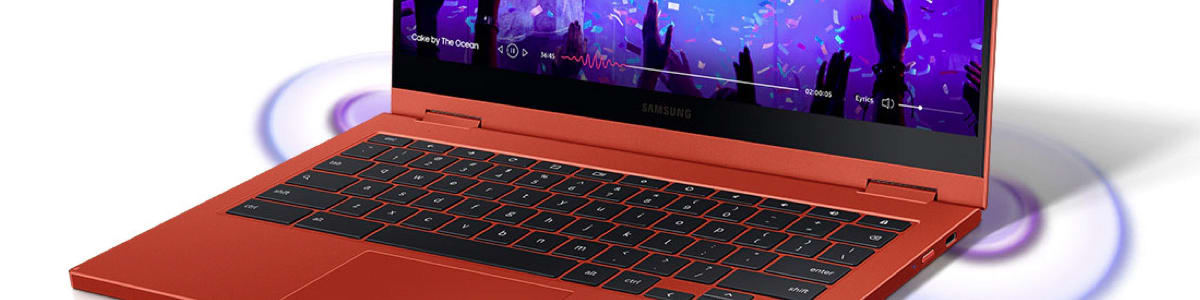
Taking a Screenshot
Taking a screenshot on a Chromebook for the first time can be a little confusing. This often arises as a result of the Chromebook’s unique keyboard. The good news is that the process is actually incredibly straightforward.
To take a screenshot on your new Chromebook, simply press the Ctrl + ‘Show Windows’ keys at the same time. ‘Show Windows’ is located where you might expect to find the F5 key on a PC. It’s easily identified as a rectangle adjacent to two vertical lines to the right.
Once taken, a screenshot is copied to your clipboard, as you might expect. It’ll also be saved to your Chromebook’s ‘Downloads’ folder.
Copying and Pasting
Many of us now take copying and pasting for granted on all of our devices. Chromebooks feature several ways to copy and paste. One, in particular, will be familiar to most people.
With that, the simplest way to copy and paste on a Chromebook uses the Ctrl, C, and V keys. First, select whatever it is that you wish to copy. Then, press Ctrl + C simultaneously. To paste, press Ctrl + V. Ctrl + V can be used in the same way to paste, for example, a screenshot that’s been copied to your clipboard.
Right-Clicking
But what if you’re more familiar with right-clicking to copy and paste? Luckily, you can still effectively do this on a Chromebook. That said, Chromebooks don’t have a traditional right-click option.
Instead, it’s necessary to tap the touchpad using two fingers. Tapping the touchpad in this way will open a menu that, among other options, includes a choice of both copy and paste.
Updating Your Chromebook
Like with any computer, keeping a Chromebook’s operating system up to date is crucial. The latest updates from Google will ensure that your device remains in optimal working order. Chromebook updates are also vital in maintaining the latest security settings. Fortunately, Google makes this as uncomplicated as possible.
All Chromebooks automatically look for and download any necessary updates when connected to the internet. All you need to do is finish the process. When an update is available, you’ll receive a notification. This notification will prompt you to restart your Chromebook.
Once your Chromebook has restarted, the latest update will be installed and operational. It’s as easy as that.
Capturing a Picture
All of the best Chromebooks have a built-in camera. This camera is great for video conferencing. It’s also a handy way to take pictures for your social media profiles.
To take a picture using your Chromebook, open the camera app. You can find the app via the Chromebook menu. Alternatively, hit the ‘Search’ button on the far left of your keyboard and type “camera” to pull up the program.
With the camera app now open, simply hit the circular shutter button to capture an image. Much like taking a screenshot, pictures from the camera are saved by default to a Chromebook’s downloads folder. You can then upload and share any photos directly from this location.
You can also view your photos by opening the ‘Gallery’ app. Find this via the menu or by searching for “gallery” using the dedicated search button on the left of the keyboard.
Protecting Your Chromebook
All new Chromebooks come complete with a limited manufacturer warranty. These warranties usually last for 12 months and offer limited protection against manufacturing defects.
However, purely by their inherently portable nature, Chromebooks are especially vulnerable to drops, cracks, liquid spills and other accidental damage. Such eventualities, of course, aren’t covered by a standard manufacturer warranty.
Instead, what’s needed is an extended warranty with insurance against accidental damage. Many manufacturers’ paid-for extended warranties and service contracts don’t include this level of coverage. Unfortunately, those that do are often prohibitively expensive. They may also lack coverage for things like battery failures. Thankfully, independent warranty provider Upsie is on hand to help.
Upsie offers protection against manufacturing defects, accidental damage, battery failures and more. Best of all, by cutting out the middleman, Upsie can pass on savings of up to 70% to customers. That’s a potential saving of two-thirds or more for superior Chromebook warranty coverage! Further benefits include 24/7 customer claims, low deductible prices and local repairs.
Upsie will also replace your Chromebook as part of its laptop warranty coverage if it’s not cost-effective to repair it.
Personalizing Your Settings
Finally, make your Chromebook your own by personalizing its settings and changing the desktop wallpaper. Most settings are optimized for a typical user straight out of the box. Yet, you’ll still likely want to make some small personal tweaks. To view the options available to you, head to the ‘Settings’ app via the menu or press Alt + Shift + S.
To personalize your Chromebook’s wallpaper, meanwhile, follow the instructions above to right-click on the desktop. Choose the wallpaper option from the resulting menu. You can then browse a range of preset options—including cityscapes, landscapes, and solid colors—or select an image of your own.
To do this, click ‘My Images’ to view any pictures that you’ve saved from the web or taken with your Chromebook’s camera. Then, all that remains is to decide upon the ideal shot to represent you and your new Chromebook perfectly.
Learn More About Chromebooks:


* This article is over 6 months old and may or may not be updated.