Browse Plan Categories

Meet Upsie

Return navigate_next
Five Steps to Ice Cream Maker Success
September 8, 2021 *
Setting up and using an ice cream maker for the first time can be daunting. It’s hardly surprising since, in the past, these machines were very cumbersome and over-complicated. They were also notorious for their hit-and-miss results. Thankfully, things have changed, and today’s ice cream makers are better than ever.
Manufacturers including Breville, Cuisinart, and Nostalgia all now produce ice cream makers. For the most part, the exact make or model isn’t too important. Instead, getting the best out of any machine typically comes down to just a handful of best practices.
How to Use an Ice Cream Maker
Step 1: Preparation Is Key
The most common ice cream makers are known as frozen canister models. Part of the ice cream maker needs to spend up to 24 hours in a freezer to work properly. Though it varies from one machine to the other, the removable portion must be frozen in advance for the machine to function.

Where instant gratification is the goal, costlier compressor models are also available. A built-in compressor takes care of the necessary chilling, meaning there’s much less preparation needed. This convenience does come at a cost, though. Expect to pay significantly more for a compressor model. Fortunately, with a bit of planning, frozen canister-type ice cream makers produce an equally good product.
Other options are available, too, such as stand mixer attachments and traditional ice cream churns. If a mixer attachment or churn is the preferred choice, you may need to adjust your recipes for the best result.
Step 2: Mix Up Your Ice Cream Base
Whichever ice cream maker you opt for, the base mix for the finished product is the same. The machine only determines how the mixture is churned and chilled. The result should always be the same silky, delicious ice cream.
Most base mix recipes call for three main ingredients: cream, milk, and sugar. Additional components then determine the flavor and, to a lesser extent, other qualities, like texture. For some inspiration, check out these popular recipes from The Spruce Eats:
- Simple vanilla ice cream
- Chocolate chip ice cream
- Peanut butter swirl ice cream
- Cinnamon ice cream
- Green tea ice cream
- Ube ice cream
Once the mix is ready, it’s time to power up the ice cream maker itself. At this point, the delicious finished product could be as little as 30 minutes away.
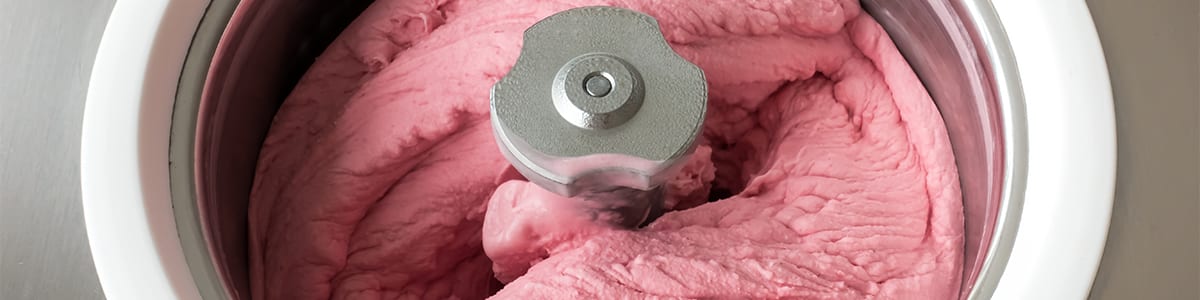
Step 3: Let the Ice Cream Maker Work Its Magic
The third step in the process involves adding your carefully prepared base mix to the ice cream maker. Using a pre-chilled mix will speed things up. Admittedly, for ice cream makers with a compressor, this somewhat defeats the purpose of paying for a more expensive machine.

However, where it’s necessary to freeze a machine’s canister or inserts in advance, chilling the mix is always a sensible idea. That way, you’re ready to go after 12-24 hours, base mix and all. A chilled mix also means a finished product in less time. It’s important to remember to chill your ice cream mix in the refrigerator, not the freezer, as this will ruin it.
Set your ice cream maker to work on its lowest, most gentle churn setting. Slowly add your mix, then increase the speed to maximum. This will cool it to a point where it begins to freeze, turning into ice cream in the process. Completing this step should take less than 30 minutes for pre-chilled mixes. Where a mix hasn’t been chilled in advance, or when using a compressor model, allow up to an hour.
Step 4: Consider Further Chilling
Once your ice cream maker has worked its magic, the finished product will be ready to enjoy immediately. That said, many ice cream recipes benefit from an additional blast in the freezer after churning. Another 30 minutes to an hour will help to further thicken your finished product for a more authentic taste and texture.
Simply transfer it from the ice cream maker to a suitable container and pop that in the freezer for as long as you can wait. Take the same step if you’re preparing ice cream in advance. The same also applies if you’ve made a larger batch that won’t be eaten immediately, with or without further chilling.
Step 5: Clean Up Carefully
An additional blast in the freezer also provides the perfect opportunity to clean up. A quick rinse with warm water is usually all that’s required. Avoid harsh detergents as these can damage an ice cream maker’s non-stick coating. Instead, wipe down exterior surfaces with a damp cloth. Let everything air-dry before putting any components back together and placing the ice cream maker somewhere safe until its next outing.
For stand mixer attachments and less common styles of ice cream makers, always be sure to check the manufacturer’s instructions for specific cleaning guidelines. Some components may be dishwasher safe, for example, but it’s always important to confirm this rather than assuming one way or the other.
Ice Cream Maker Warranty
An extended appliance warranty is a great way to prolong the life of any ice cream maker. Upsie is one of the best options for ice cream maker warranties. With Upsie, the price of a comprehensive three-year small appliance warranty is up to 70 percent lower than the price of a warranty from retailers. Additionally, the Upsie’s warranties include protection against:
- Manufacturer defects
- Mechanical faults
- Non-accidental failures to motors, gears, ball bearings, internal tubing, rotors, and other moving parts
With two years of coverage starting at only $4.99, complete peace of mind with an Upsie ice cream maker warranty costs as little as $0.20 per month. For premium protection without a premium price tag, choose Upsie.
Learn More About Small Appliances:


* This article is over 6 months old and may or may not be updated.