Browse Plan Categories

Meet Upsie
Return navigate_next
How to Build a PC — And Why Even Consider Building a PC?
August 18, 2021 *
Most people buy PCs and wonder why anybody would take the trouble and time to put one together themselves. These computer owners believe that this task takes special skills or hours of work. According to Business Insider, most people will find building a PC much easier than they assumed. Novices can also find plenty of online instructions and videos to guide the process from start to finish.
Why Build a PC?
Building a computer mostly requires inserting components into slots, turning screws, and arranging cables. In fact, Business Insider compared the process to assembling Lego models. That comparison might simplify the complexity some, but it expresses the right idea.
In contrast, constructing a computer from its components can deliver plenty of benefits. For example:
- Learning about computers: The process of acquiring parts and putting them in the right slots and bays will teach people a lot about how computers work. It can give them the confidence to diagnose and repair problems. Even more, people who have built their own computers should have an easier time understanding specs when they’re shopping for new PCs in the future.
- Saving money: It costs considerably less to build a computer than to purchase an assembled machine. For example, Business Insider found that about $1,600 worth of easily available parts could build a name-brand, high-end PC that retailed for over $3,000.
- Getting a customized PC: Building a PC offers almost unlimited customization options. Especially when compared to the limited choices for most purchased computers. PC builders can easily upgrade and maintain their creations too.

Building a Computer From Parts
Building a PC only really requires Phillips screwdrivers. However, tweezers and needle-nose pliers might prove handy for inserting parts and fixtures into tight corners. Some PC builders also use ZIP ties to keep cables tidy.
Besides clearing a decent-sized work area, the Intel guide to building a PC suggests starting by comparing cases. The case refers to the outer shell of a computer. In order of size, the basic case options include full tower, mid-tower, and mini-tower. Of course, available storage space for the computer and the anticipated size of the motherboard might affect this decision.
Note that manufacturers don’t standardize their case sizes. For instance, a mid-tower from one manufacturer might not perfectly match the size of the case from another company. Begin by making a list of parts and then comparing suitable cases.
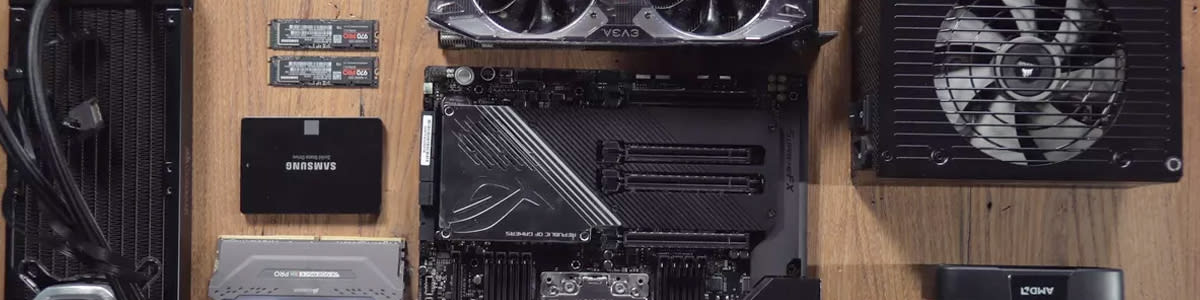
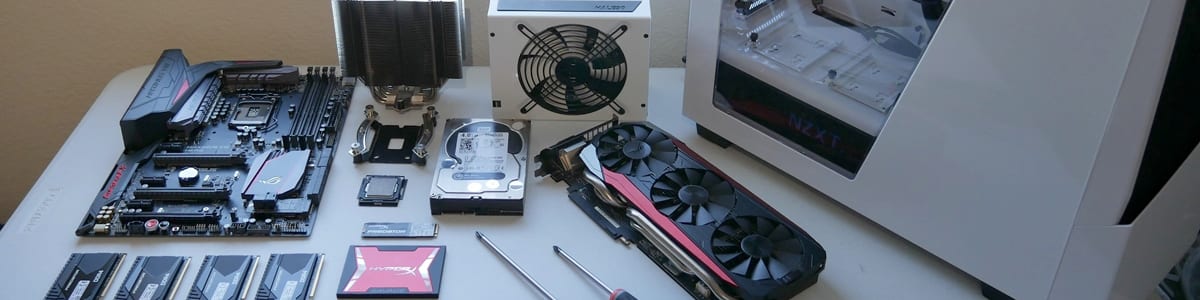
Other required parts for a PC include:
- CPU (central processing unit)
- GPU (graphics processing unit)
- Motherboard
- RAM (memory)
- PSU (power supply unit)
- Storage
- Computer cooling
- Peripherals
- OS (operating system)
Nine Required Steps for Building a PC
This summary briefly describes the basic process of building a desktop PC. In addition, people who have never built a PC before can benefit by searching online for a good video tutorial.
Building a computer involves several steps. At the same time, none of them should take a lot of time or prove very difficult. In addition, the product’s user guide should offer specific information about that particular part.
This outline of nine basic steps can help people understand the process of building their first PC:
Step 1 – Insert the CPU
Line up the arrow on the CPU with the arrow on the socket of the CPU box to insert the CPU.
Step 2 – Optionally, install an M.2 SSD
The SSD fits into a slot in the motherboard and screws in place
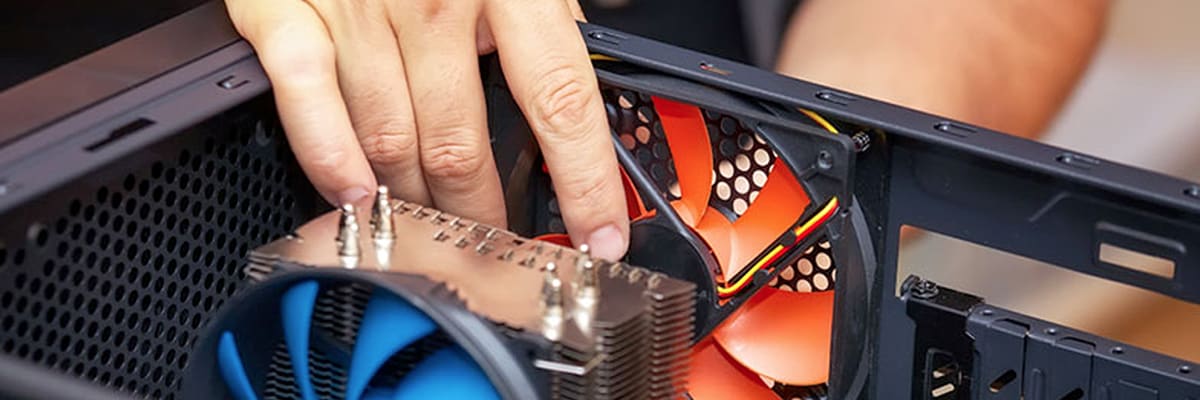
Step 3 – Add CPU cooling
Various kinds of cooling systems will need different installation steps. Some simply rest on a bracket in the CPU box.
Step 4 – Add RAM
Adding RAM can be as simple as snapping it into place on the motherboard. Most motherboards offer either two or four slots. If there aren’t enough memory cards to fill all the slots, consult the manual for the best configuration.
Step 5 – Mount the PSU
Find a place to mount the power supply unit so the fan faces out of the case via a vent.
Step 6 – Install the CPU
After ensuring cables are threaded correctly, use a screwdriver to mount the CPU inside the case.
Step 7 – Install GPU
The graphics processing unit screws into a motherboard slot.
Step 8 – Add storage
Storage devices either screw or snap into the appropriate bay in the case.
Step 9 – Install the computer’s operating system
Some computers lack optical drives. In this case, load the OS to a flash drive, plug the flash drive into a USB port, and then plug in the computer and turn it on.
Most people can complete the entire process in a few hours. After that, they will enjoy the satisfaction of creating their own PC from electronic parts and, of course, the chance to save money.
Warranties for Pre-Built Computers
When building a PC, all of the computer components will come with a limited warranty. That means, if a part arrives defective, the manufacturer or retailer should cheerfully and promptly replace it.
When customers purchase a pre-built computer from a store, they will get a limited warranty for the entire computer and not each individual part. Likewise, these limited warranties will provide repairs or replacements for defective parts. However, some limited warranties exclude basic protection.
To protect a purchased computer against defects and wear, consider buying the best PC warranty from Upsie. Upsie’s protection plans offer robust protection and cost up to 70 percent less than competitors. The transparent protection plans and affordable prices will set your mind at ease and protect your computer from damage.
Learn More About Computers and Laptops:


* This article is over 6 months old and may or may not be updated.