Browse Plan Categories

Meet Upsie

Return navigate_next
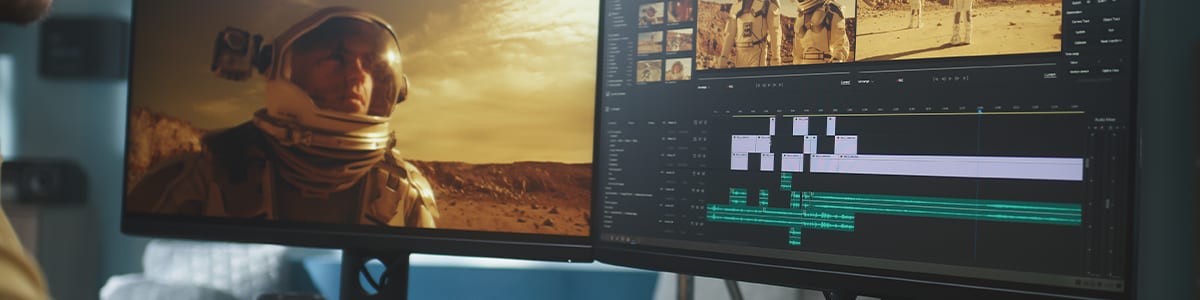
How to Create a Dual Screen Monitor Setup
June 9, 2022 *
Sometimes a single monitor just won’t cut it. Whether you’re doing serious gaming, collaborating on a big project, or want to compare files on different screens, a dual screen monitor setup can give you the extra real estate you need.
And getting set up is fairly straightforward. Here’s how to set up dual screen monitors step-by-step, along with extended warranty info to protect your investment.
1. Connect Your Second Screen to Your Computer
This may be a little obvious, but first, plug in the second screen you want to use to the wall outlet or power strip, and connect it to your computer via the cable. Typically, this will be an HDMI, VGA, DVI, or DisplayPort cable.
That’s all there is to it for hardware.

2. Choose Your Primary and Secondary Monitor
Now you need to let your computer know which monitor you want to use as your primary monitor and which you want to use as your secondary monitor. This is done by first right-clicking on your desktop and choosing “Display.”
From there, a menu featuring both monitors will appear. These will be labeled as “Display 1” (the left monitor) and “Display 2 (the right monitor).”
Choose the monitor you want to be your main display. Then click “Apply.”
3. Adjust the Scale, Layout, Resolution, and Orientation
At this point, dual screen monitors should be set up. Now, it’s just a matter of adjusting the settings for optimal viewing.
This starts with the scale and layout of the text, apps, and other items. Usually, the default setting will be 100%, which is what’s recommended. However, you can enlarge or shrink that by changing the percentage.
Next, the resolution will typically be 1920 x 1080, which is also recommended. But you can change that according to your preference as well.

Finally, you can adjust the orientation by selecting either landscape (the default for most screens) or portrait if you’re using a screen vertically.
How to Make Changes to Your Dual Screen Monitor Setup
Let’s say you initially choose your left monitor as Display 1 and your right monitor as Display 2. But after using this configuration for a while, you want to switch your setup. All you have to do is right-click on your desktop and select “Display.”
Then, simply change the displays to make the other monitor your primary monitor. And, of course, if you want to make changes to the scale, layout, resolution, or orientation, you can do that as well by following the same steps listed above.
Often, it takes some trial-and-error to find a dual screen monitor setup that’s just right. So you may need to make a few changes as you’re getting a feel for things.
Protecting Your Dual Screen Monitor Setup with an Extended Warranty
As of 2022, the average cost of a computer monitor was $200 to $300. However, some can cost over $1,000. When you double this number with dual screen monitors, this setup becomes expensive quickly.
So it’s important to protect your investment. The problem that many users run into is that the manufacturer’s warranty of most monitors only lasts one year. While you’re covered during the first year against issues like monitor defects, that protection expires once that first year lapses.
That’s why many people opt for a monitor extended warranty through Upsie. Upsie offers robust two-year and three-year warranties that cost up to 70% less than in-store offers. You have a 60-day window after you purchase a monitor to get coverage, meaning there’s no pressure to make a rushed decision. And you have full control of your plans through Upsie.com if you ever need to make changes.
Claims can be filed 24/7 so you can find a prompt repair or replacement. Customers can also make unlimited claims up to the purchase price of the monitor. And if you ever need to protect other devices like tablets, smartphones, or other electronics, you can do that with Upsie as well.
Learn More About Computers:


* This article is over 6 months old and may or may not be updated.