Browse Plan Categories

Meet Upsie

Return navigate_next
How to Set Parental Controls on a Nintendo Switch
June 27, 2022 *
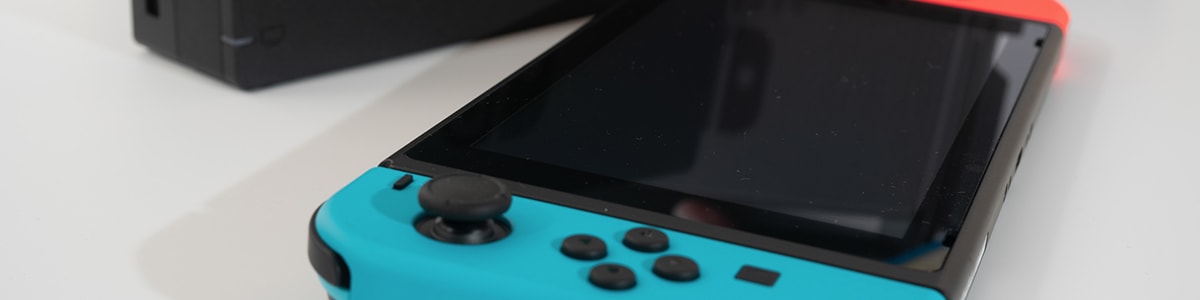
The Nintendo Switch is one of the most popular gaming consoles for children and families. It offers fun games that are age-appropriate for kids and a gaming experience the whole family can enjoy. However, parents may be concerned about how their children use the console, like how long they play, who they interact with, and what games they play. Luckily, parents can let their kids play with peace of mind by setting Nintendo Switch parental controls.
Nintendo Switch Parental Controls App
Controlling your child’s use of your Switch is extremely easy with the Nintendo Switch Parental Controls app. Through the app, you can easily set and change the restrictions at any time from your smart device.

On the app, you can set how long your child can play and change this amount of time per day. So if they’re allowed to play for three hours on weekends, but only an hour on school nights, you can set that on your phone. The Switch will show an Alarm screen when the play time limit is reached, or you can set it to suspend gameplay once their allotted time is up. If you need to lift this restriction temporarily or for a whole day, you can do so by entering your PIN.
You’ll also want to make sure your child is playing age-appropriate games. Entering their age and using the preset will let them play games within their age-appropriate ESRB rating. If you need to customize it further, you can do so. For example, you can create a “whitelist” of games they are allowed to play that may be out of their age’s ESRB ratings.
Finally, you can control what online and social features they are allowed to partake in. People of all ages play many games and may put things in a chat that aren’t age-appropriate for your child. You can set parental controls to limit their ability to send in-game messages and images and restrict their ability to post screenshots to social media.

How to Set Parental Controls on the Nintendo Switch
Nintendo makes it extremely easy to set and change parental controls. During the initial setup of your console, you will be asked if you need to set parental controls and can do this on the Parental Controls app or the console. Next, select “Use Smart Device” or “Use this Console.” If you have already set up your console, you can still add parental controls on the app or the console. To set them on the console, navigate to the “Settings” menu from the home page. Then select “Parental Controls.”
On the app, sign in with your Nintendo account or create one if you haven’t already. Once signed in, you’ll be able to set parental controls from their list of options. The app gives you more in-depth options than the console, including the ability to set play time limits and create a “whitelist” of approved games.
Nintendo Switch Warranty
Any device is susceptible to breaking, especially if young kids frequently use them. An extended warranty is the best way to protect your Nintendo Switch, but you must ensure it covers everything mechanical defects and accidental damage. You also don’t want to be overcharged on your warranty plan.
Upsie’s Nintendo Switch warranty plans are more affordable and comprehensive. For example, a 2-year Upsie warranty for a $299 Switch costs just $34.99, and a 3-year plan costs $49.99. Upsie’s warranties have an industry-low deductible of just $25.
This warranty plan is perfect if young kids regularly use your Nintendo Switch. Upsie covers mechanical defects, wear, screen cracks, drops, and spills. Accidents tend to happen around kids, but with an Upsie-insured console, you don’t need to worry.
In addition, you can make unlimited claims up to the purchase price of the device. Choose between taking it to a local certified repair technician or sending it to the Upsie repair center with free roundtrip shipping. However you play, know Upsie has you covered.
Learn More About Video Gaming:


* This article is over 6 months old and may or may not be updated.