Browse Plan Categories

Meet Upsie
Return navigate_next
First Steps After Buying a New Nintendo Switch
July 13, 2022 *
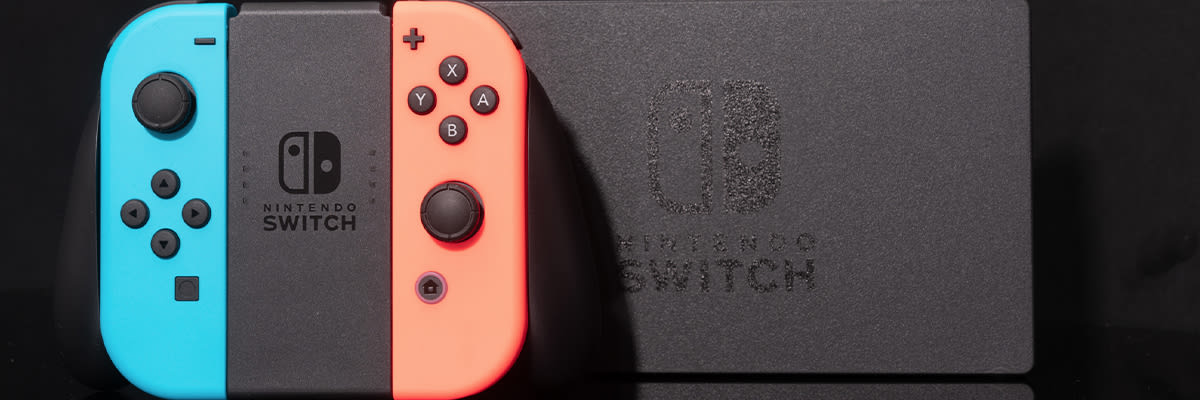
Buying a new Nintendo Switch is exciting! Whether you bought it for yourself or your family, you’re probably eager to get started enjoying the variety of games Nintendo offers on the Switch console. You may be so overwhelmed that you don’t know where to begin once you open the box. Here are four first steps you should go through after unboxing your new Nintendo Switch.
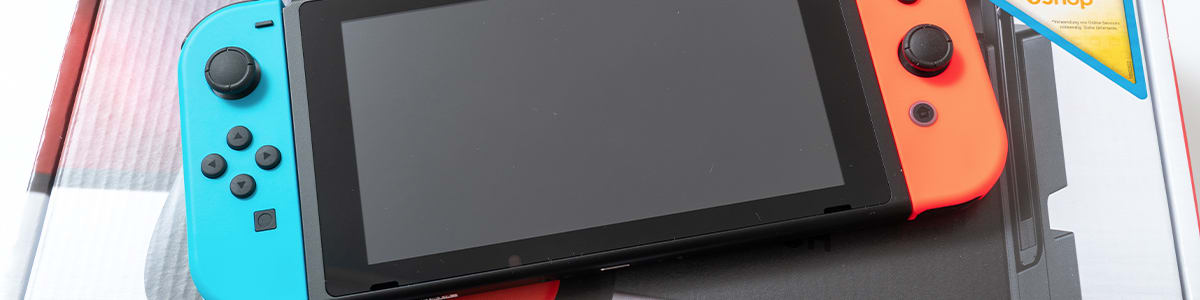
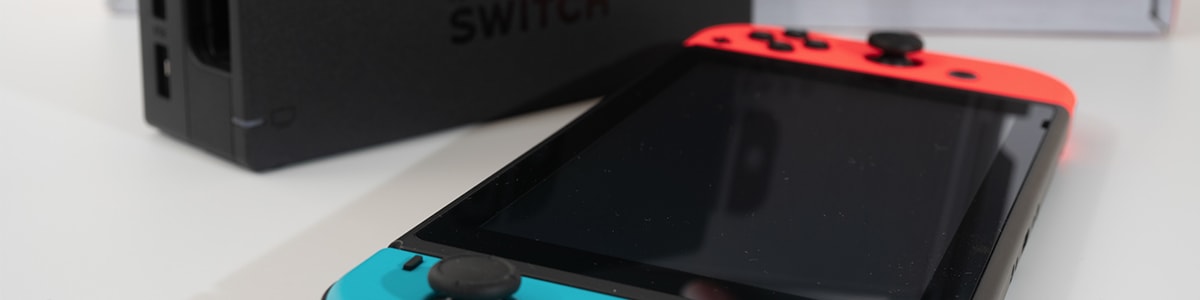
1. Put on Screen Protector
If you got the Nintendo Switch OLED screen, you can skip this step since the screen protector has already been installed! However, if you get the standard Switch or Switch Lite, make sure you purchase a pack of screen protectors and install one right away. This will protect your screen from scuffs and scratches caused by intense gaming and wear and tear.
2. Set Up the New Nintendo Switch
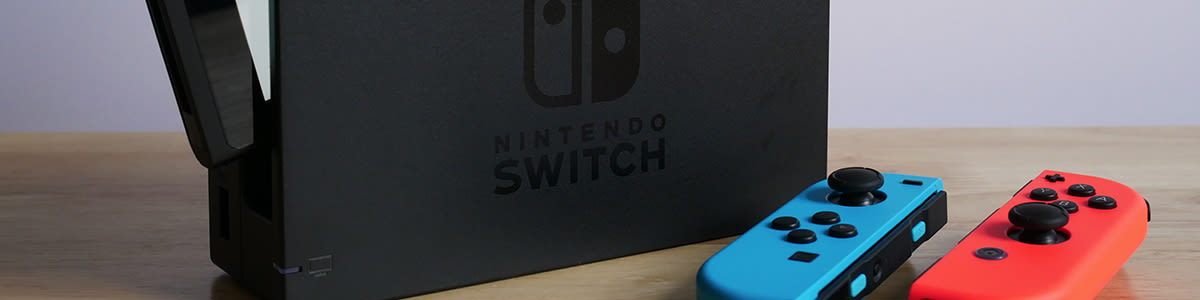
Plug your device in and set up the charging dock. Next, you’ll be prompted to sign in to your Nintendo Account. If you’ve owned a Nintendo console, you probably already have a Nintendo account. However, if you’re new to Nintendo, you’ll need to create a new one. This will be used to purchase games and use the Switch’s social features.
3. Set Parental Controls
You’ll be asked if you want to set parental controls during the setup process. These are really important if you have young children who will be using the Switch. They can be used to set playtime limits, prevent kids from playing certain games, and restrict the use of social features. Read this article to learn more about how to set parental controls.
4. Purchase a Carrying Case for Your New Nintendo Switch
If you plan on taking your Switch on the go, a carrying case is a necessity. Not only will it keep your new Nintendo Switch safe while traveling, but it will also provide convenient storage for all your game cards. A basic carrying case from Nintendo is only $19.99 and comes with a screen protector. So don’t worry about accidentally dropping the console or stuffing it in a bag where it could get scratched. Instead, purchase a carrying case so you can safely play on the go.
5. Find an Extended Warranty
Screen protectors and carrying cases are great ways to prevent damage, but it doesn’t ensure your Switch will never break. An extended warranty will cover the cost of repairs in case your Switch breaks due to accidental damage or a manufacturing defect. However, when searching for a Nintendo Switch warranty, you want to ensure you aren’t overpaying for coverage. Many retailers’ warranty plans can be expensive and not worth the coverage they offer.
The Best Nintendo Switch Extended Warranty
Upsie offers the best Nintendo Switch extended warranty. You can purchase a 2-year or 3-year plan for $34.99 or $49.99, respectively, for a $299 Nintendo Switch. Upsie costs up to 70% less than competitors like Best Buy, Gamestop, and Target. In addition, all of Upsie’s console plans come with a flat-rate deductible of $25 and cover for manufacturing defects, screen cracks, liquid damage, and more.
But the benefits of an Upsie warranty plan don’t end at an amazing price and comprehensive coverage. In addition, customers can submit a claim 24/7/365 by calling Upsie's claims center. A real customer service representative will answer your phone call to help you file your claim. Alternatively, you can fill out the online form. Once your claim is approved, you can take it to a local certified repair technician for a speedy fix so you can get back to gaming.
Once you start playing on your Switch, you’ll want to ensure it’s protected, so you enjoy it for the extent of its lifespan. The best way to keep your new Nintendo Switch undamaged and working is to protect it with an extended warranty. You can purchase an Upsie Nintendo Switch extended warranty within 60 days of buying your Switch. With Upsie, you have the best price, coverage, and customer service that warranties have to offer.
Learn More About Video Gaming Consoles:


* This article is over 6 months old and may or may not be updated.